Setting Up Facility Hours/Schedules
The Hours tab in the Nokē Smart Entry Web Portal allows you to define and manage the schedules for facility access. This feature is essential for organizing when tenants, employees, or vendors can access the facility, depending on their roles and needs.
Reviewing Access Schedules
-
Navigate to the Hours Tab:
-
Log into the Web Portal and locate the Hours tab on the left-hand side of the screen.
-
This tab lists all available schedules for your facility.
Note: The layout of the Hours page may vary depending on your facility's configuration.
-
-
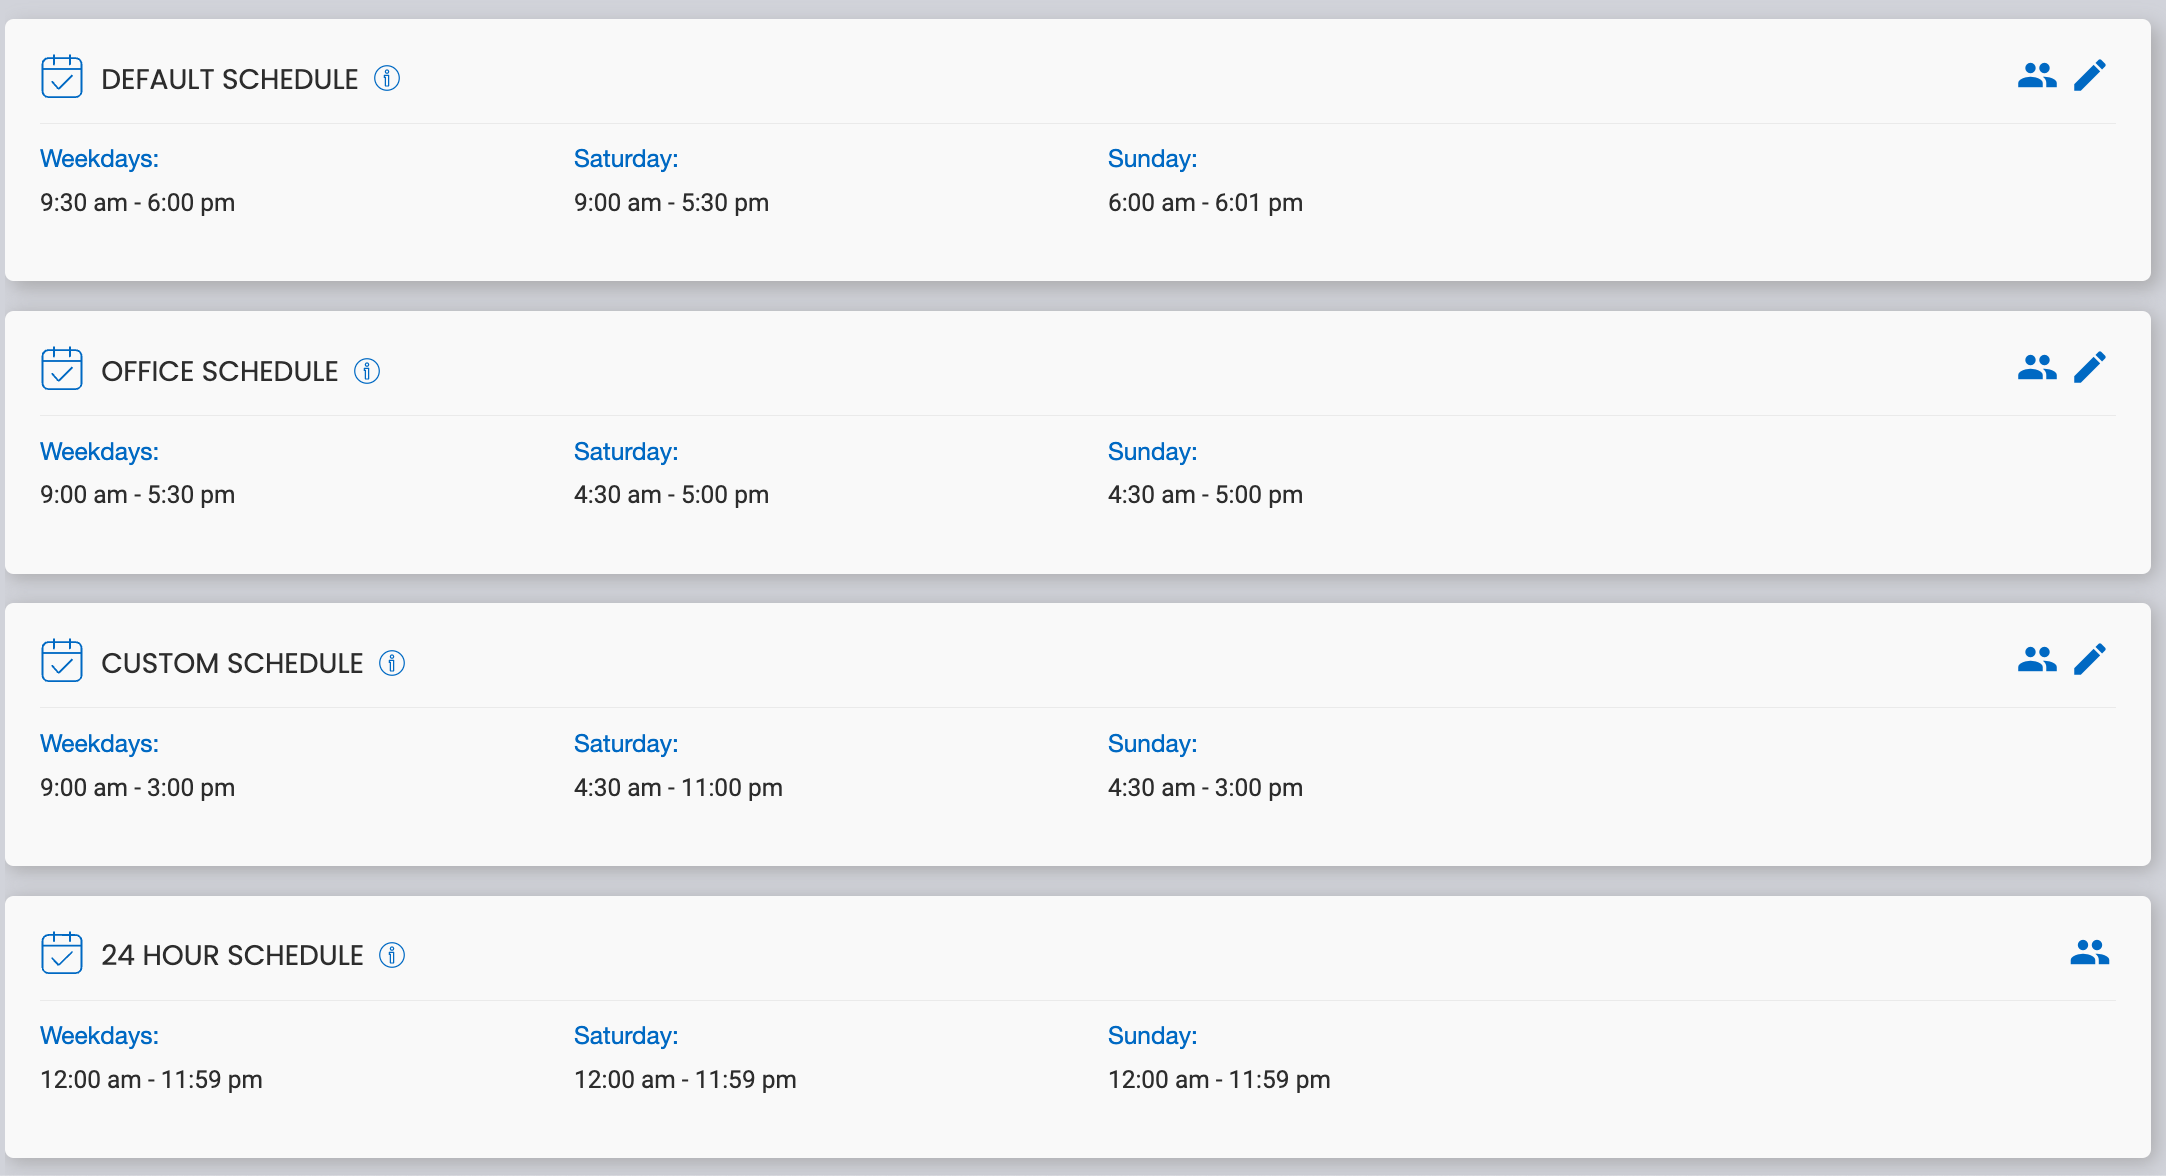
Schedule Types:
-
Default Schedule:
Automatically assigned to new users. This is the primary schedule for your facility. -
Office Schedule:
Not necessarily your office's operating hours. Use this schedule to limit access to specific times, such as for auction winners or clients needing supervision during business hours. -
Custom Schedule:
A flexible schedule designed for unique requirements, such as vendors responsible for specific tasks (e.g., trash collection or landscaping). -
24-Hour Schedule:
Fixed for individuals who require unrestricted, round-the-clock access, such as employees or business tenants. This schedule cannot be modified. -
Fob Schedule:
Defines the access times for users with fobs.
Note: This only applies if the "Fobs Follow User Schedule" facility setting is 'Off'. For more information about how this works, see 'Understanding Fobs Follow User Schedule' Facility Setting.
-
Note: Some facilities may see Holiday Hours. These schedules can be used to "close" your facility on Holidays. This feature only works if your facility uses Nokē Volt device types only. Holiday hours feature is not supported by other device types (NokēPad, Nokē Screen).
Editing/Creating an Access Schedule
-
Editing a Schedule:
- Click the pencil icon in the top-right corner of the schedule you want to edit.
- Adjust the open and close times as needed.
-
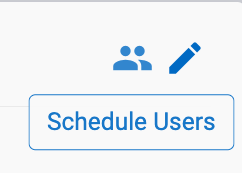
Assigning Users to a Schedule:
- Click the people icon in the top-right corner of the schedule.
- A pop-up form will display all users assigned to the schedule.
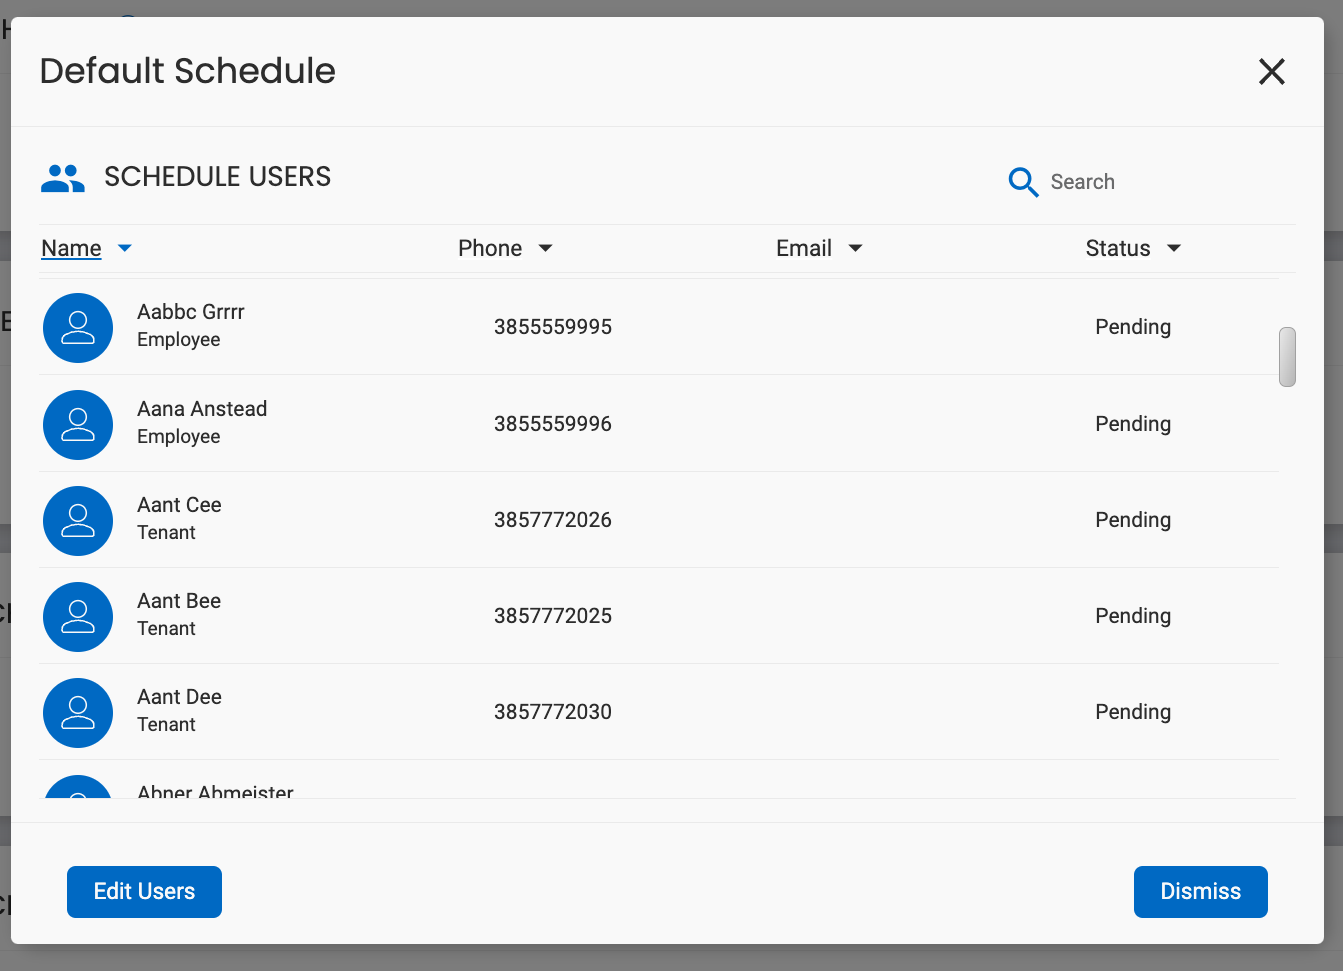
- Click Edit Users to navigate to a page where you can assign users to specific schedules.
- Click the people icon in the top-right corner of the schedule.
Assigning Schedules to Individual Users
-
Navigate to the Users Tab:
- Log into the Web Portal and select the Users tab.
-
Assign a Schedule:
- Locate the user whose schedule you want to edit.
- Use the dropdown menu to assign the desired schedule to the user.

The flexibility of Nokē Smart Entry’s scheduling options ensures that access is tailored to the specific operational needs of your facility.
Permission Needed
- Manage Facilities
- Manage Users