How to Assign Users to Schedules in the Web Portal
The Hours tab in the Nokē Smart Entry Web Portal allows you to define and manage the schedules for facility access. This feature is essential for organizing when tenants, employees, or vendors can access the facility, depending on their roles and needs.
Assigning Users to a Schedule:
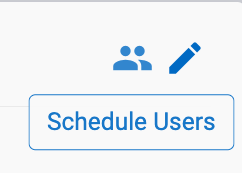
- Navigate to the Hours Tab:
- Click the people icon in the top-right corner of the schedule.
2. Assign a Schedule:
- A pop-up form will display all users assigned to the schedule.

- Click Edit Users to navigate to a page where you can assign users to specific schedules.
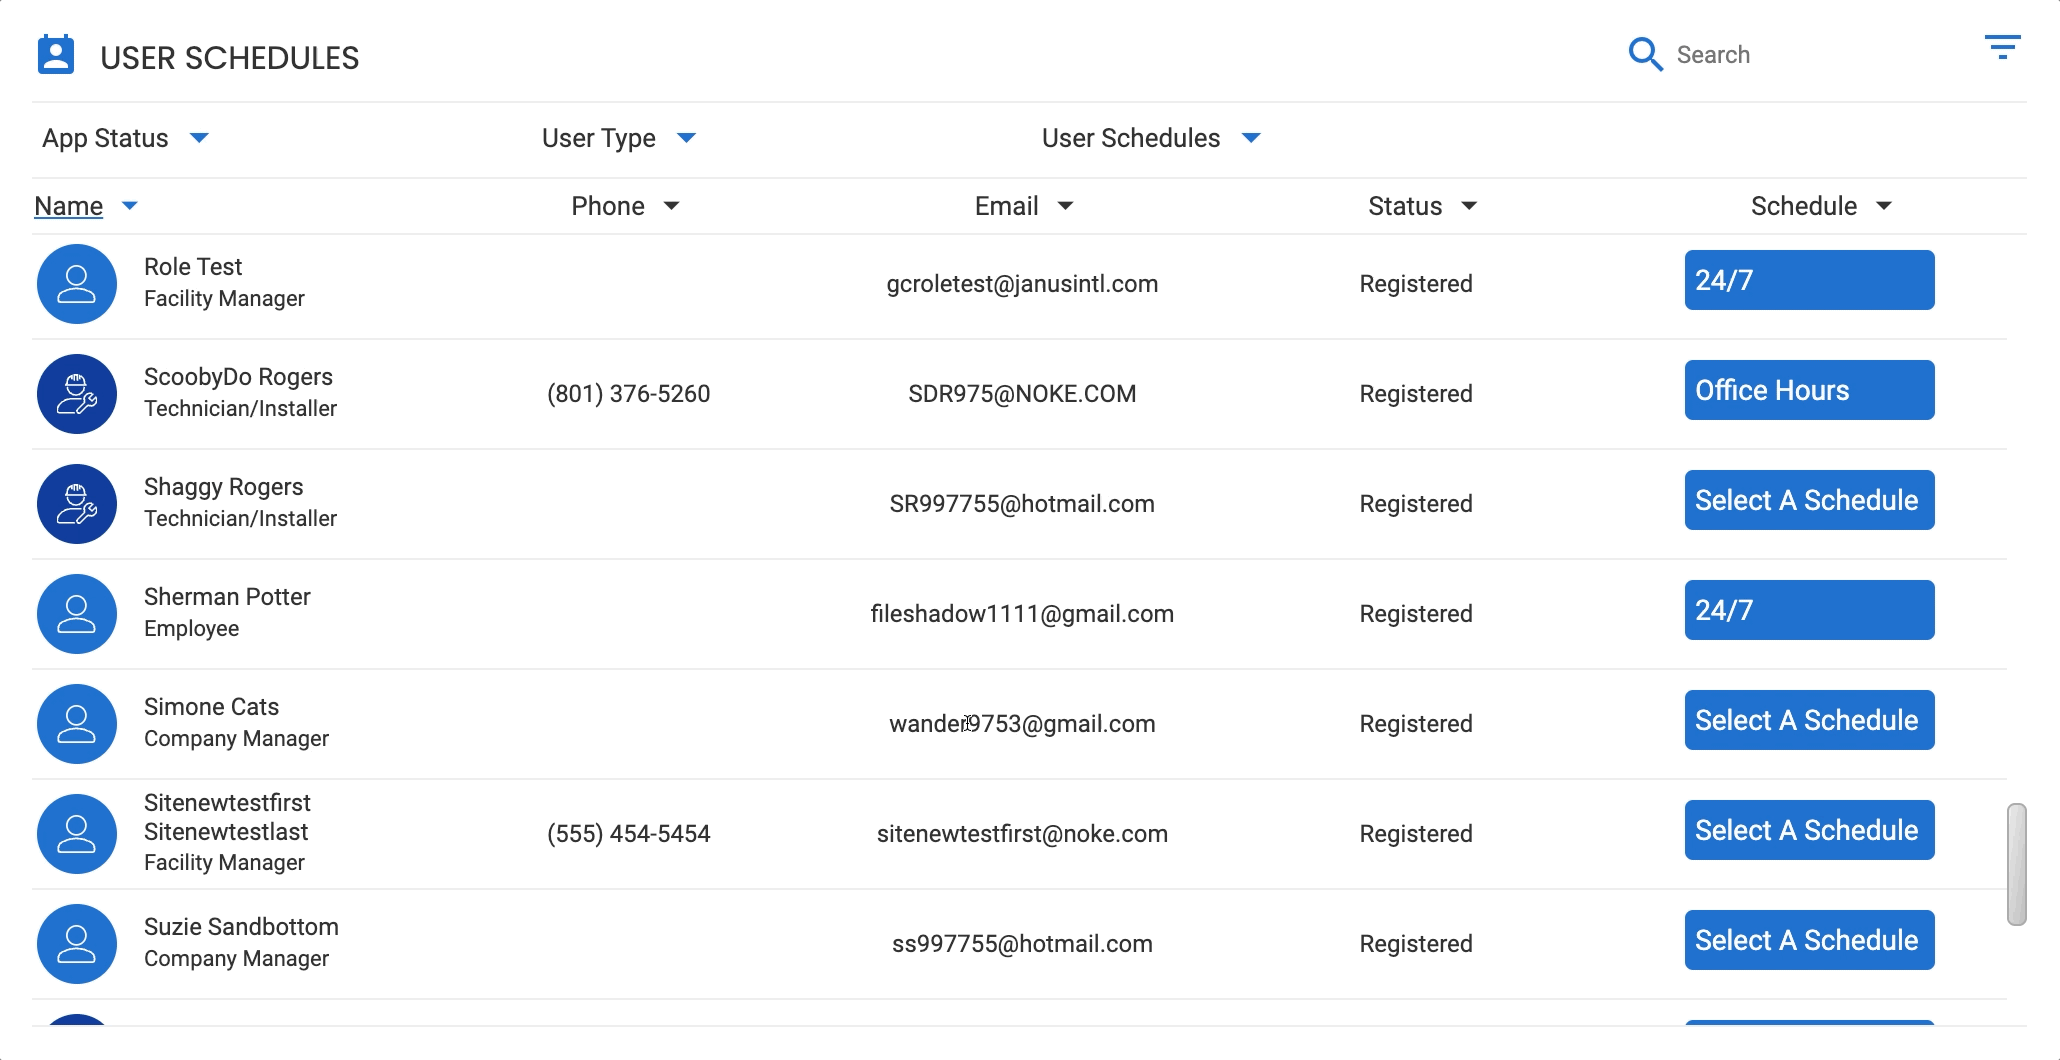
Assigning Schedules to Individual Users
-
Navigate to the Users Tab:
- Log into the Web Portal and select the Users tab.
-
Assign a Schedule:
- Locate the user whose schedule you want to edit.
- Use the dropdown menu to assign the desired schedule to the user.

Permission Needed
- Manage Facilities
- Manage Users
If the Hours tab does not display in your Web Portal, contact an administrator to add that permission to your role type.
For more information, click below:
Setting Up the Main Facility Information