Working with Fobs
This guide outlines various workflows and procedures for managing fobs in your facility, including setup, synchronization, removal, and clearing for reuse. Whether you are a manager assisting tenants with their fob setups or need to troubleshoot issues with fob functionality, the following steps will help you navigate all tasks related to fobs.
Note: Fobs are assigned to a tenant. If the tenant rents multiple units at your facility, the fob will provide access to all units assigned to that tenant.
However, if a tenant rents an additional unit after their fob has been set up, you must re-sync the fob. For detailed instructions, refer to Syncing a Fob for a Tenant.
Initial Setup - For Managers Assisting Tenants
To initiate the fob setup process for a tenant:
- Log in to your manager’s mobile app account.
- Refresh your app by pulling down from the top to ensure you have the most up-to-date information.
- Tap the '+' (plus) symbol in the top right corner.
- Select the "Add Fob to Tenant" option.
- Search for the tenant and tap their username.
- Obtain the tenant’s PIN and enter it.
- Give the fob a quick squeeze to initiate the search.
- Follow the prompts in the app to complete the setup.
Note: The ‘Fobs Follow User Schedule’ facility setting allows for determining whether users follow a universal schedule or an individual one. If enabled, ensure your app is updated to firmware version 3.7 or higher to support individual schedules. The app will guide you through firmware updates if required.
See that KB here: 'Fobs Follow User Schedule' Facility Setting
Re-Syncing a Fob Assigned to a Tenant
To sync a fob that has already been assigned but is not functioning properly, follow these steps:
- Log in to your manager’s mobile app account.
- Refresh your app to verify the latest data.
- Tap the Settings menu (three horizontal lines) and select Sync Fob for Tenant.
- Ensure the fob is within range and give it a quick squeeze to begin the search.
- Follow the app’s instructions to complete the sync.
Note: A PIN is only required for the initial fob setup, not for syncing.
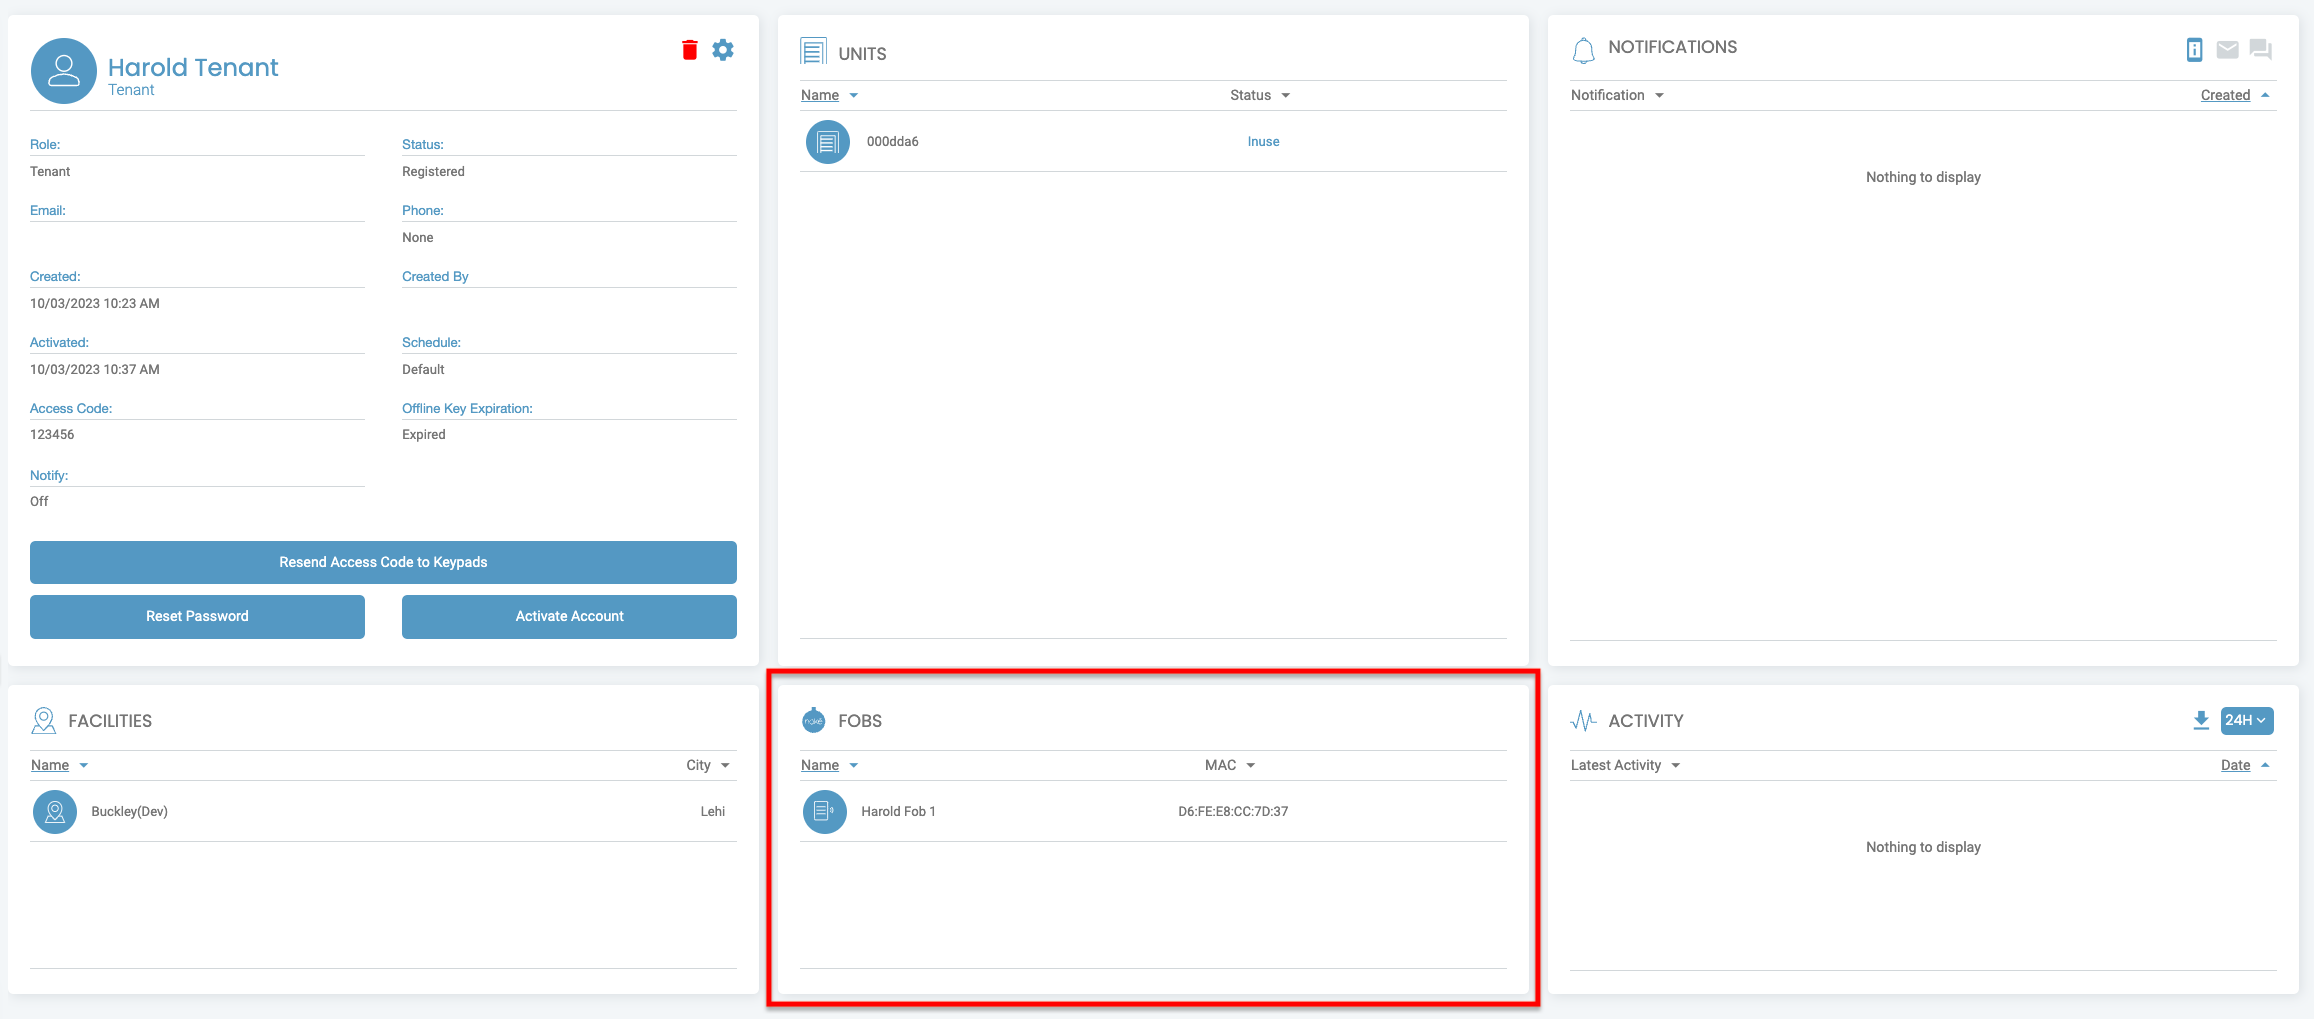
Removing a Fob Assigned to a Current Tenant
To unassign a fob from a current tenant:
- Log in to the Nokē Smart Entry Web Portal.
- Navigate to the Users tab and search for the tenant.
- Click the tenant’s username.
- Select the Settings (gear) icon and click the Fobs tab.
- Click "Remove Fob."
Clearing a Fob Assigned to a Current Tenant
To clear a fob from a tenant’s account:
- Log in to the Nokē Smart Entry Web Portal.
- Navigate to the Users tab and find the tenant.
- On the User Details page, locate the fob and copy the MAC address.
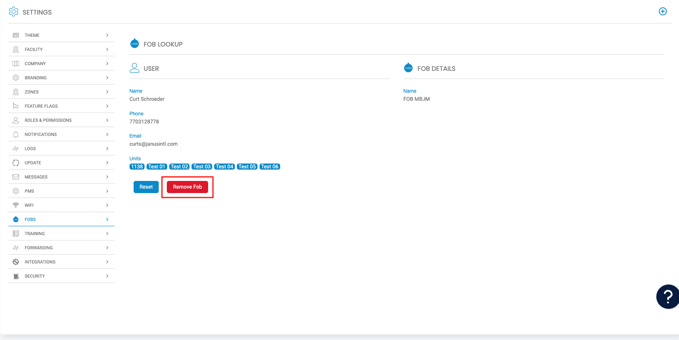
- Go to Settings > Fobs, search for the MAC address, and click Remove Fob.
The fob will be cleared and can be reassigned.
Clearing a Fob Assigned to a Non-Current Tenant
To clear a fob that was assigned to a non-current tenant:
- Log in to the manager’s mobile app.
- Tap Settings (three horizontal lines) and select Device Scanner.
- Give the fob a quick squeeze and write down its MAC address.
- Log in to the Web Portal and navigate to Settings > Fobs.
- Search for the MAC address and click Reset.
The fob is now cleared from the system.
Reset vs. Clear Fob
Understanding the difference between a Reset and a Clear for fobs:
- Reset Fob: Use when you have the physical fob and need to reset it for use by a new tenant.
- Clear Fob: Use when the fob is lost or a tenant did not return it. This option removes all keys and associations, ensuring the fob will no longer grant access.
Key Facility Settings Related to Fobs
-
Allow Service Fobs:
This setting enables the assignment of fobs to service or vendor users. If disabled, you cannot assign fobs to service/vendor-type users. -
Use Blacklist:
When enabled, this setting deactivates fobs associated with delinquent or moved-out tenants by blocking their unique Tracking ID. The fob remains inactive until the tenant returns to good standing. -
Fobs Follow User Schedule:
This setting allows you to determine whether fobs follow a universal schedule or an individual schedule for each user. If enabled, ensure your app is updated to firmware version 3.7 or higher for support of individual user schedules.
By following these steps and understanding these key features, you can effectively manage fobs in your facility, ensuring smooth access control for both tenants and staff.
PERMISSION NEEDED
- Remove Users' Fobs
- Setup Fobs
- Sync Fobs
- User Fobs
- Manage Facilities
If you require access to these reports, contact an administrator to add permission to your role type.
For more information, click below: