IMPORTANT: Installers must ensure that all keypads on site are effectively grounded. There are multiple grounding scenarios with instructions outlined below.
When doing a keypad retrofit installation, a new installation, or a service call, ensure that all keypads are properly grounded before leaving the site.
Scenario 1
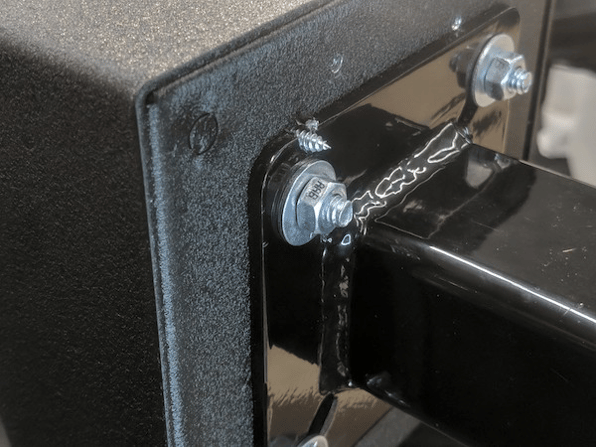
When mounting directly to a gooseneck or other metal post that already reaches an earth ground, attach the keypad to a gooseneck or metal post.
Complete these steps:
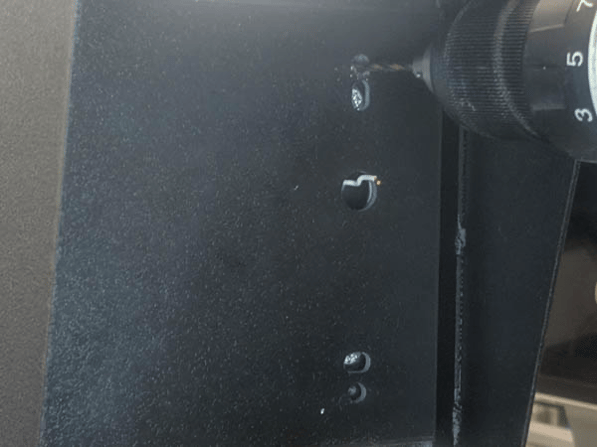
1. Expose the keypad back plate.
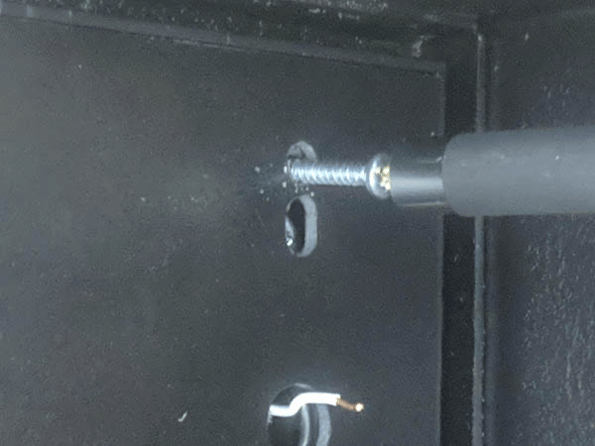
2. Using a 7/64" drill bit (the size is critical), drill a small pilot hole in both the top and bottom small holes that align with the holes in the plastic insert and the keypad backplate. Make sure these holes are deep enough to make contact with the gooseneck.
3. Insert a #6 x 1" sheet metal screw into the drilled hole.
CAUTION: Using other hardware can cause problems when attempting to replace the keypad and could damage it.


Scenario 2
When there is no grounded metal object to ground to at the keypad mount point (i.e., masonry, wood or other area with no metal grounding object), you must locate a viable earth ground ground nearby and run a ground wire from the keypad and attach it to the earth ground.
IMPORTANT: Use at least an 18-gauge wire or larger.
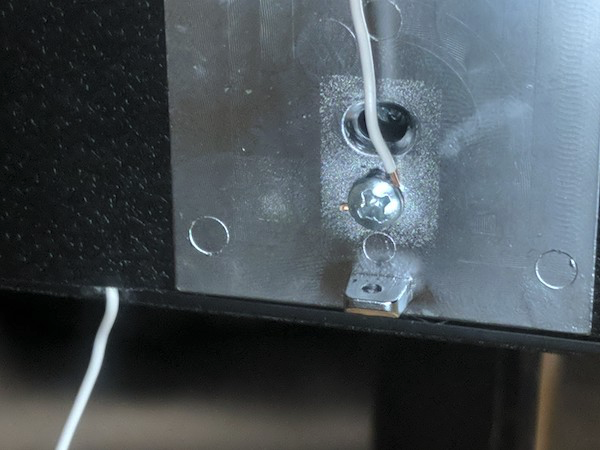
2. Attach the other end of your ground wire to the suitable earth ground.